How to Use the WorkNinja Scheduler
Learn how to navigate the WorkNinja scheduler, view team availability and manage scheduled and unscheduled visits.
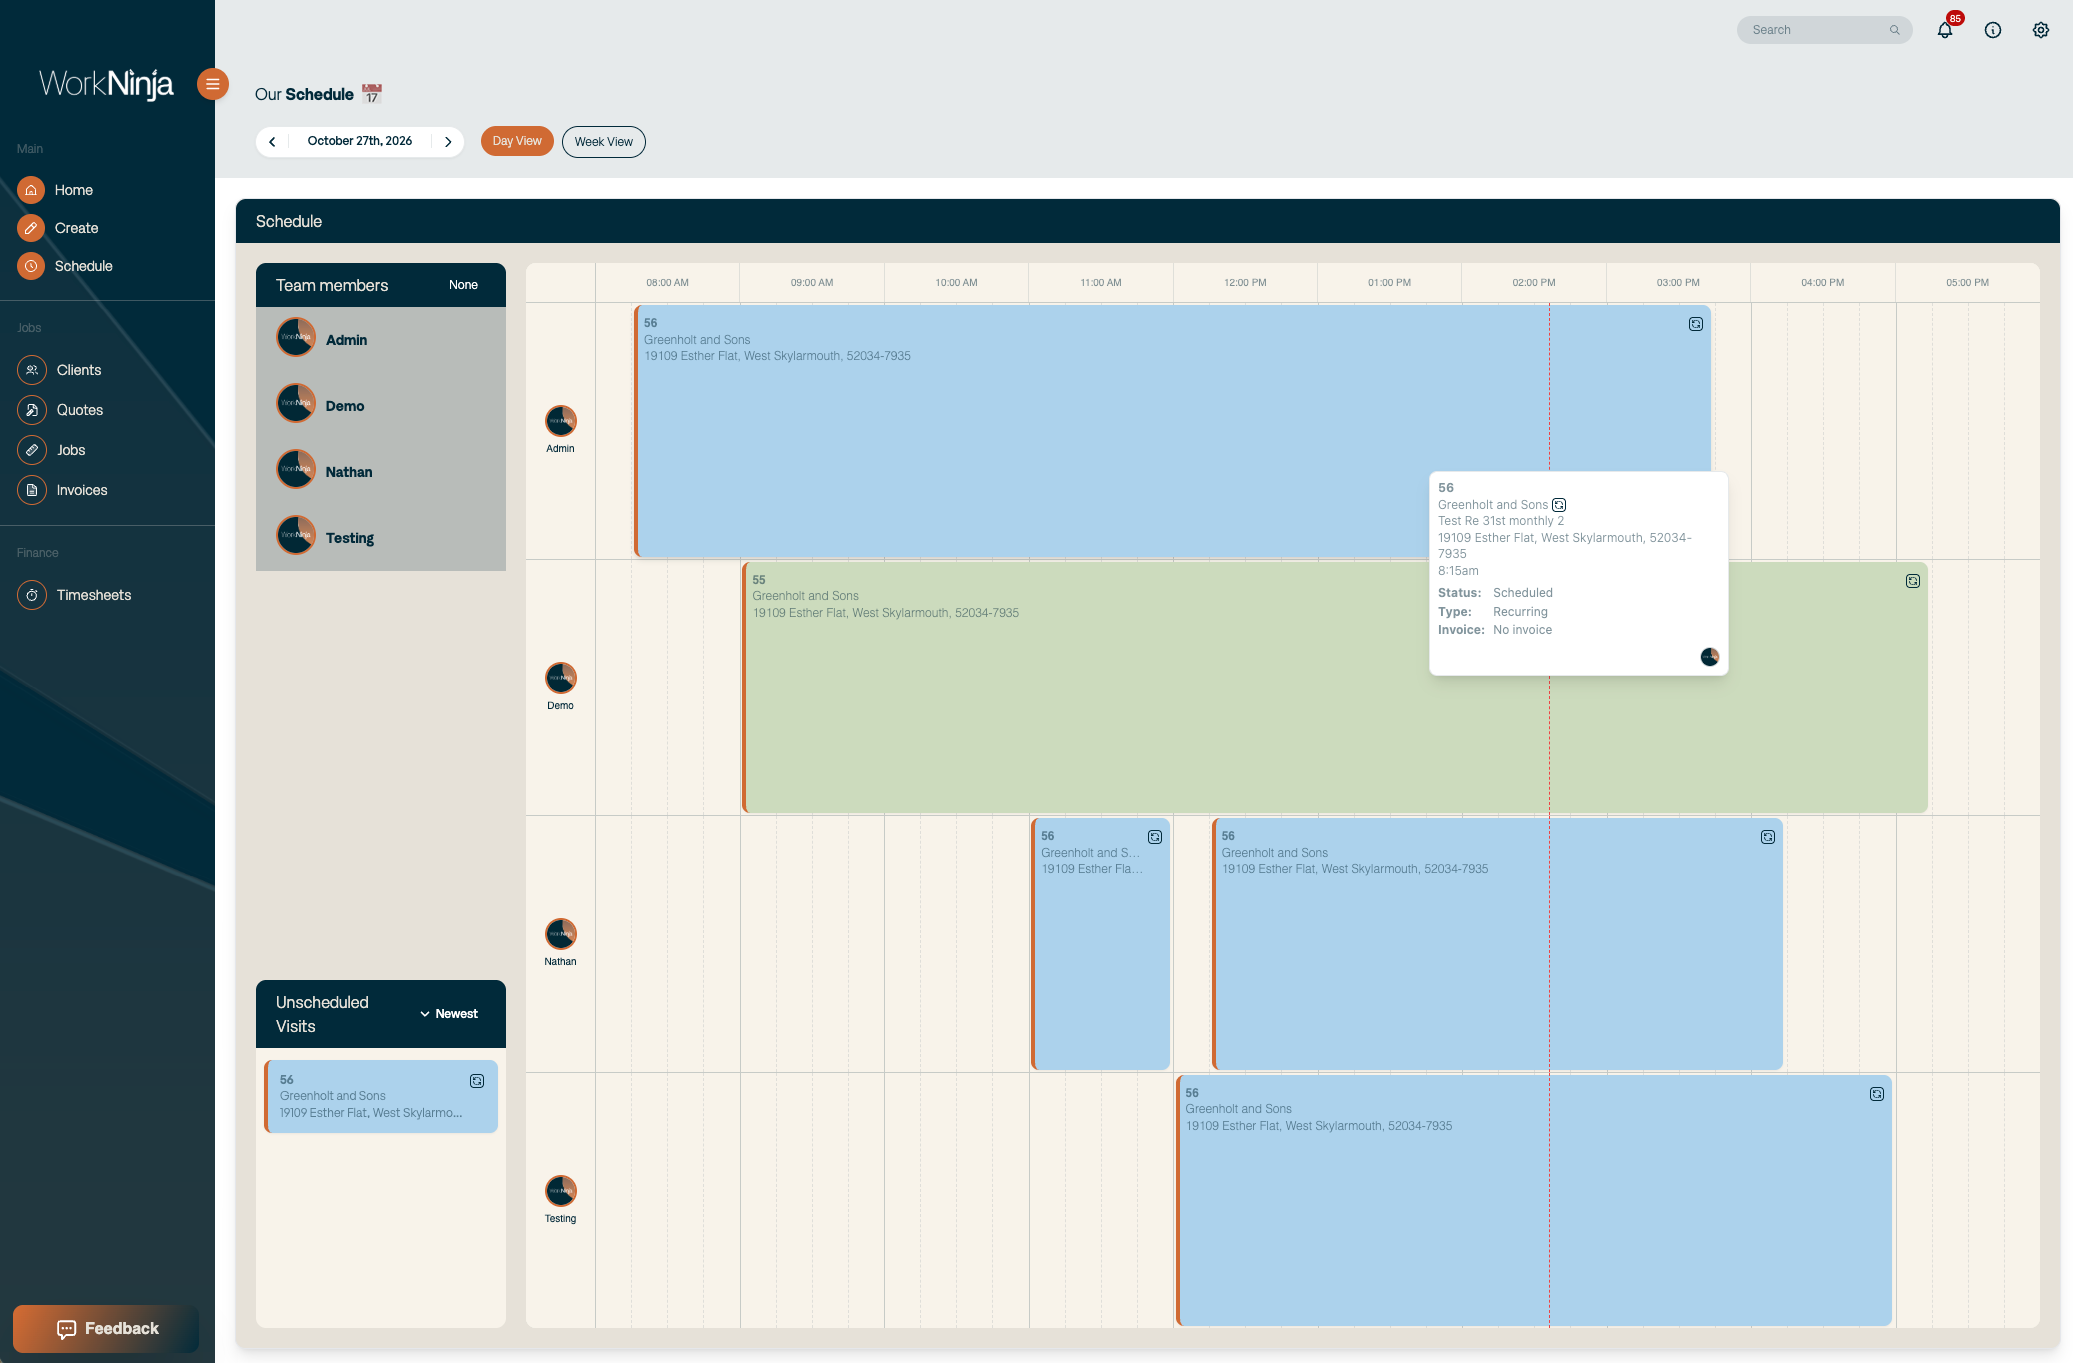
The WorkNinja scheduler provides a visual calendar for managing your team's workload. You can see which technicians are available, organise upcoming appointments and quickly schedule visits using drag-and-drop functionality.
1. Open the Scheduler
To access the calendar:
Log in to your WorkNinja dashboard.
Navigate to Schedule.
You'll see the calendar alongside a list of unscheduled visits.
2. Switch Between Day and Week Views
The scheduler offers different calendar views to help you manage your team's workload.
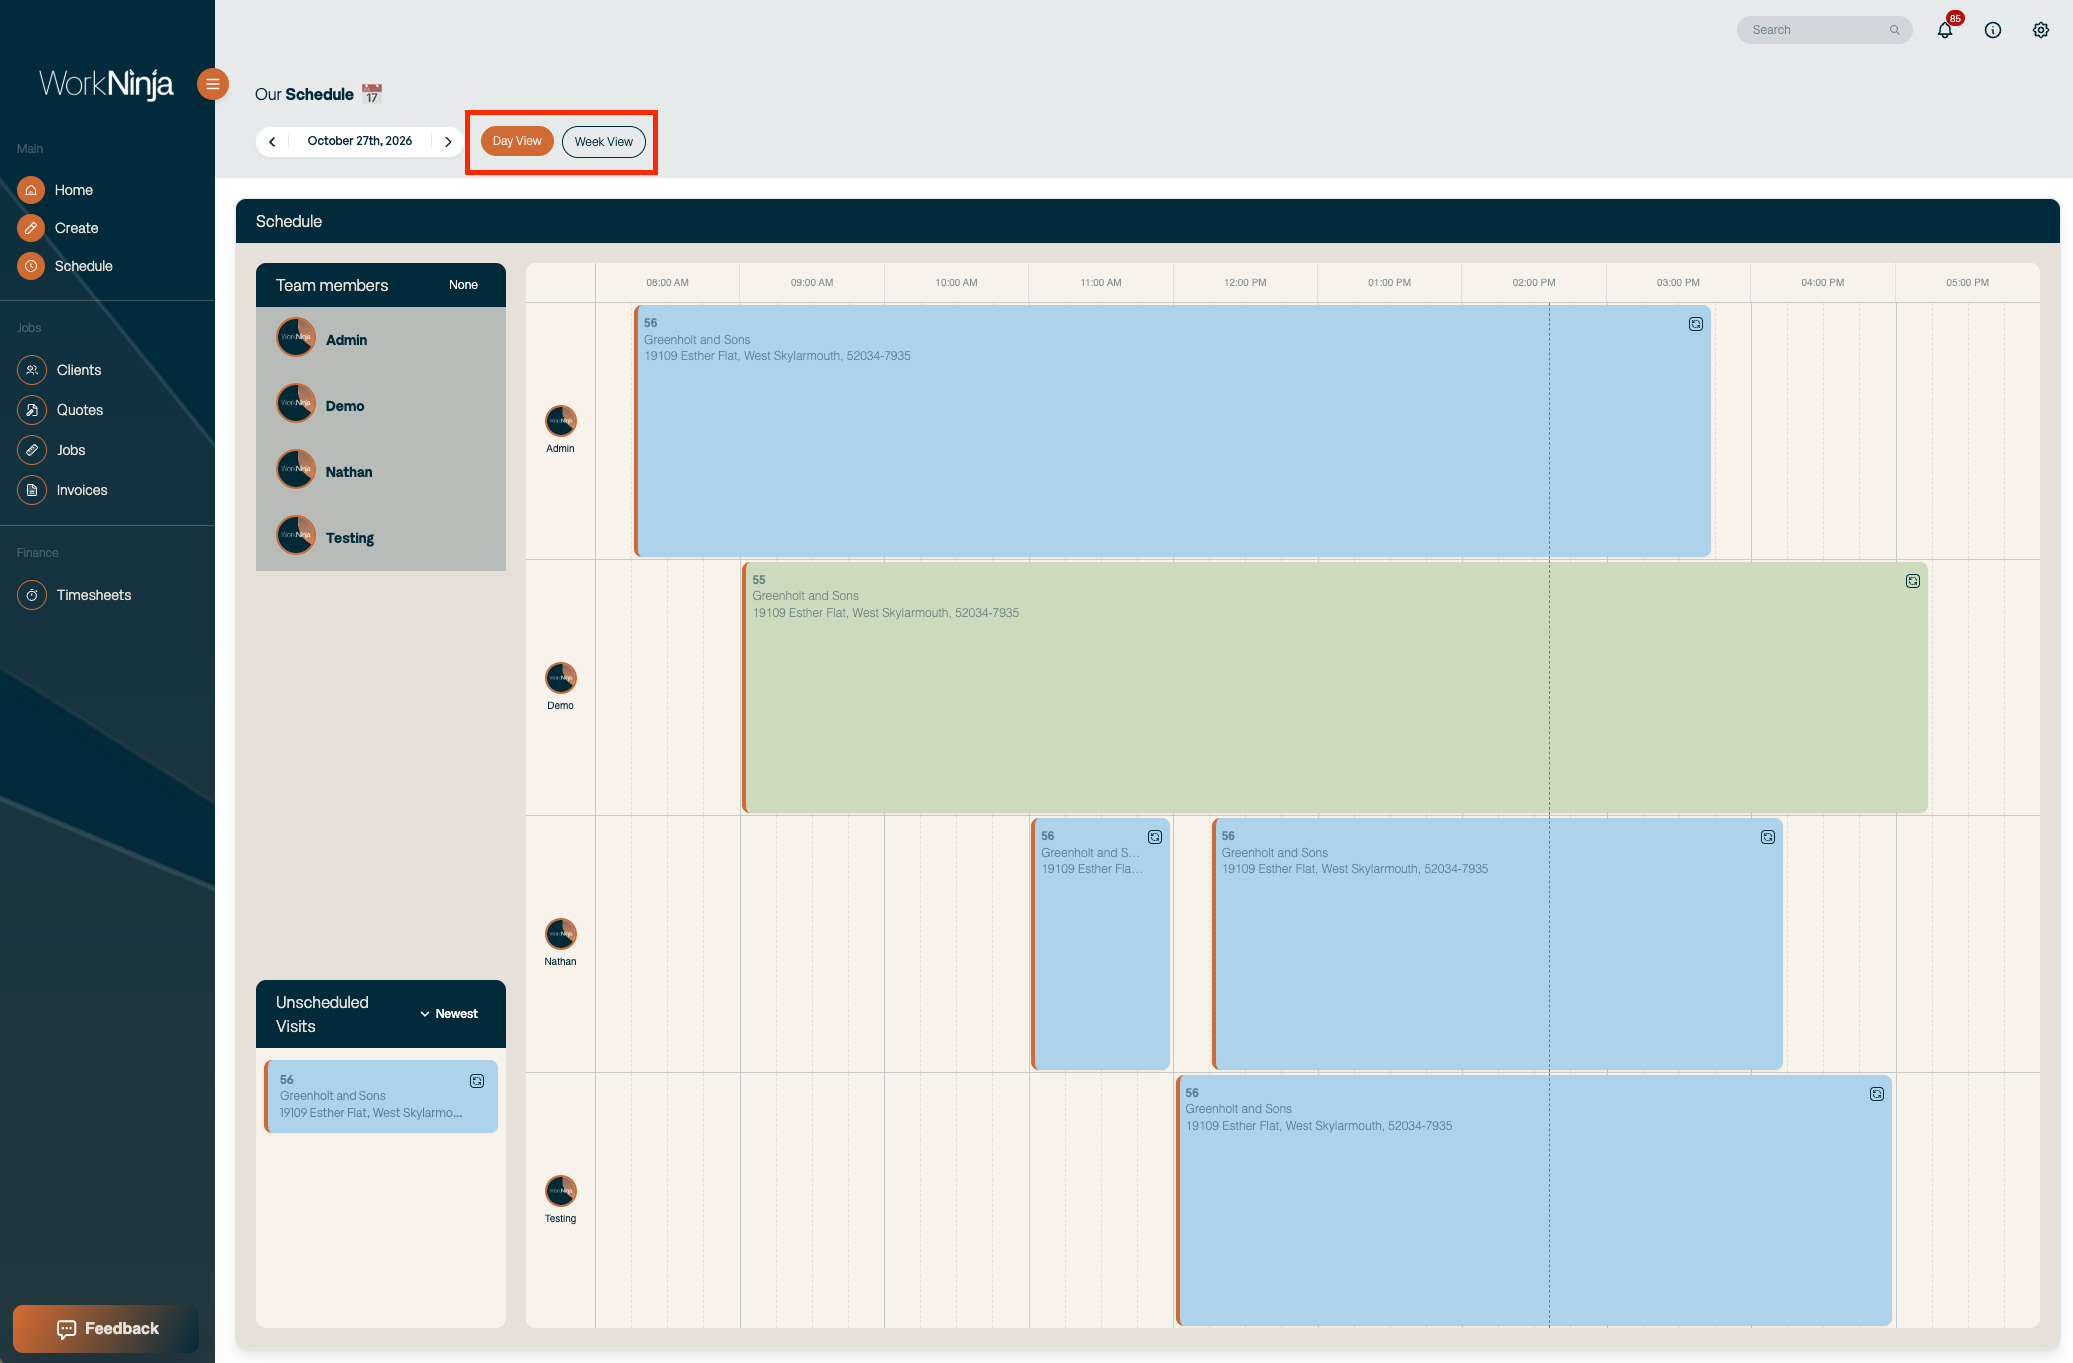
Day View
View your team's scheduled visits for a particular day. This is useful for reviewing individual technician availability and making changes to daily schedules.
Week View
View scheduled visits across a full week. This helps you plan upcoming work and identify gaps in your team's availability.
3. View and Filter Team Members
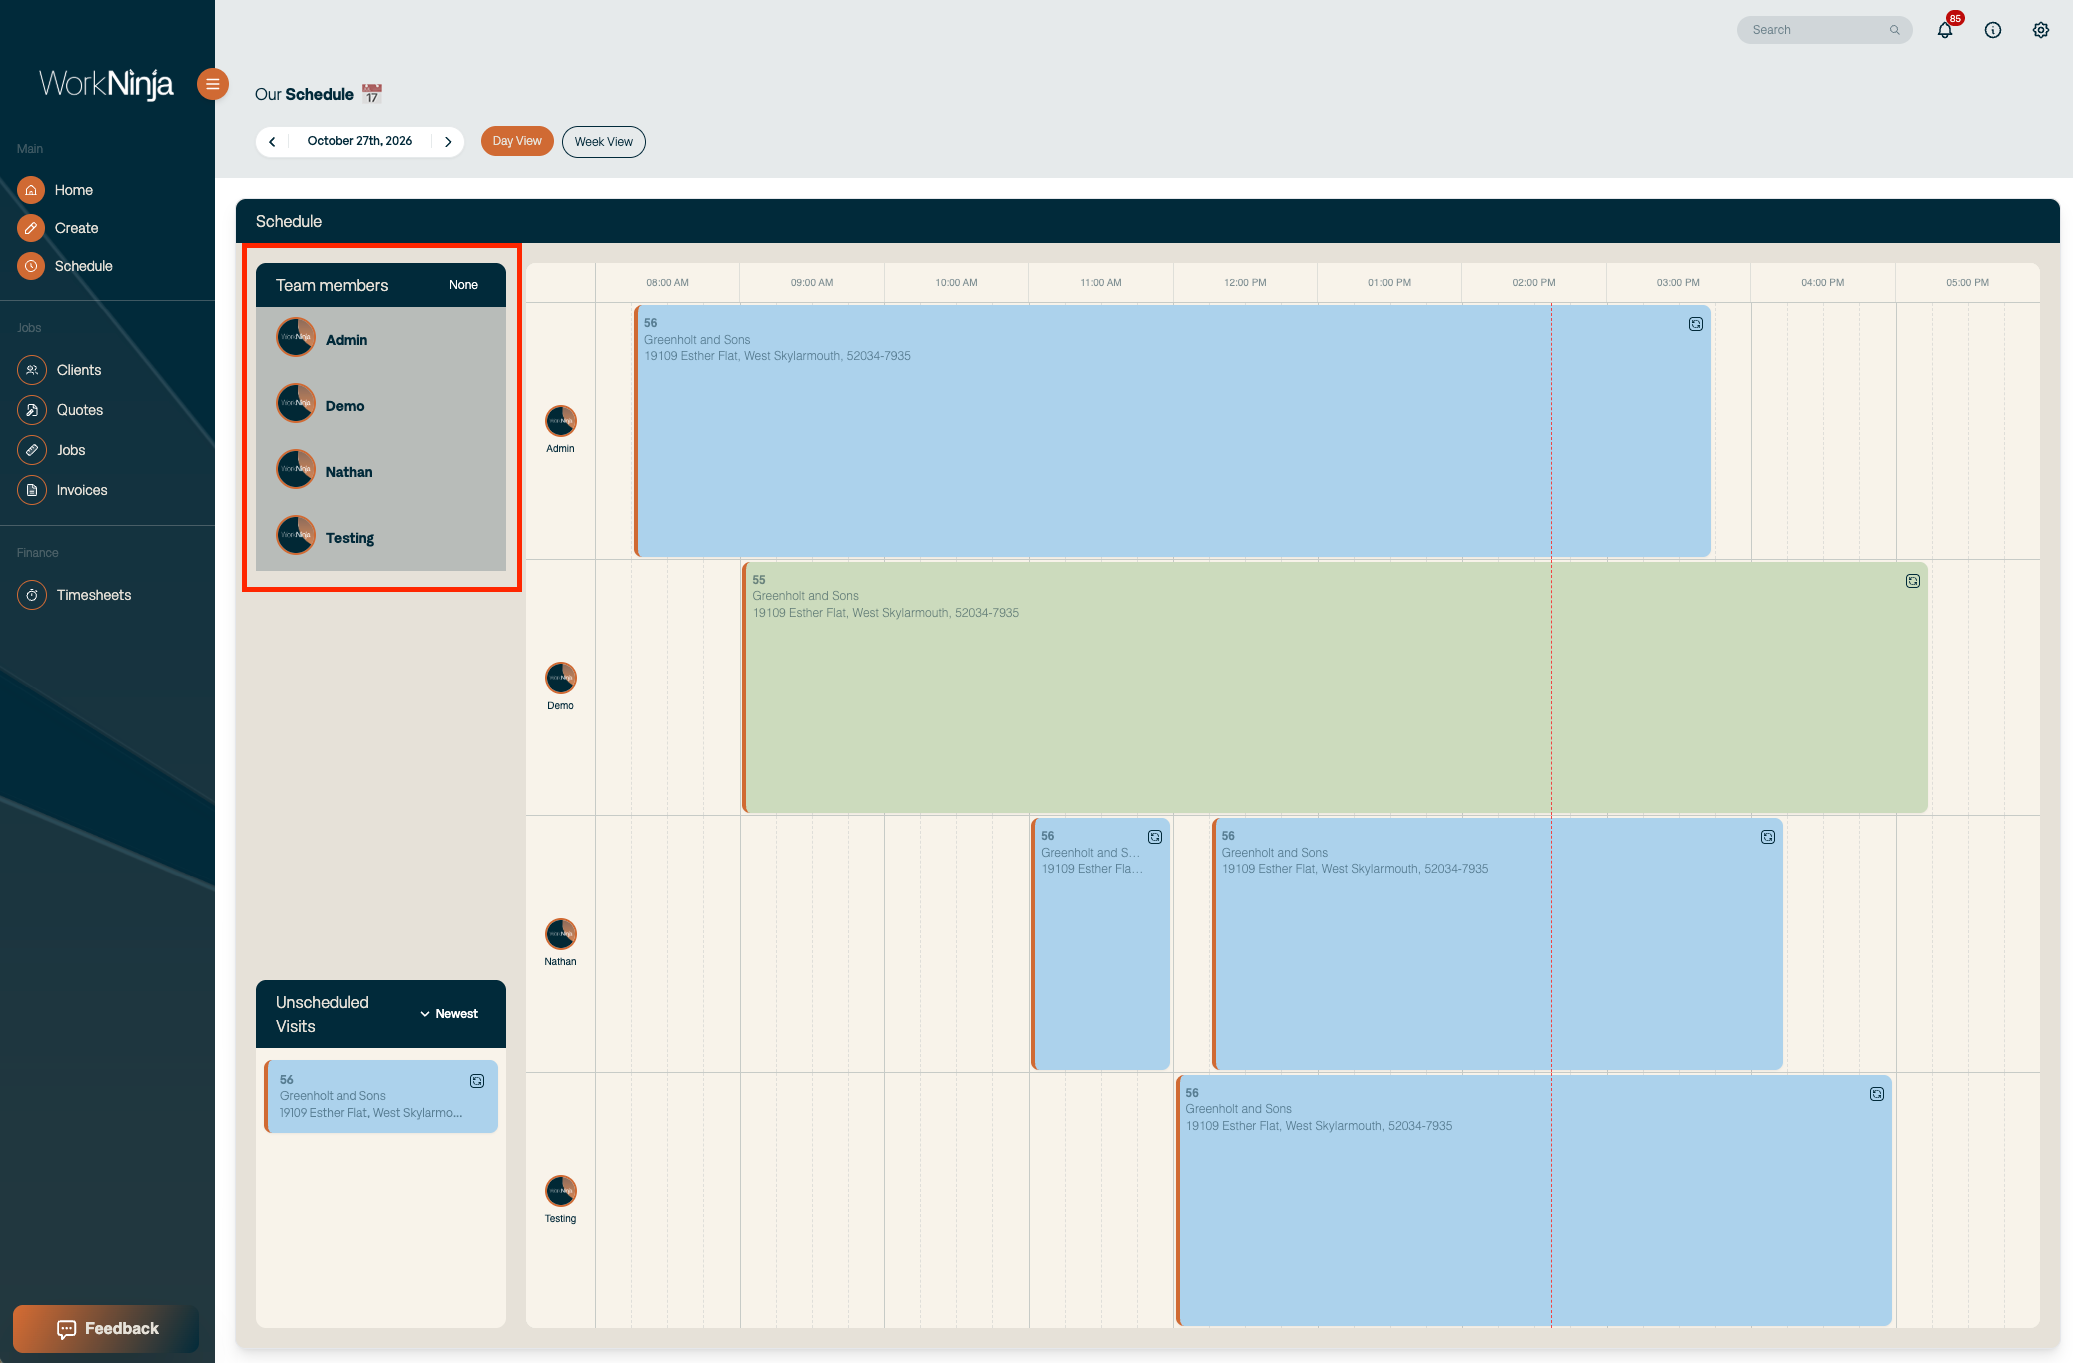
Your team members appear across the top of the scheduler.
You can use the team member filters to control whose appointments appear on the calendar.
This is particularly useful when managing larger teams or when you only need to review the availability of specific technicians.
4. Understanding Job Card Colours and Icons
WorkNinja uses colours and icons on the scheduler to help you quickly identify the status of each visit without opening the job.
Job Card Colours
Blue – Incomplete: The visit has not yet been completed.
Green – Completed: The visit has been completed.
This makes it easy to see which appointments are still outstanding and which have already been completed.
Job Card Icons
You may also see additional icons displayed in the top-right corner of a scheduled visit.
Paid Icon
The paid icon indicates that an invoice has been generated and its payment status is marked as Paid.
An invoice can be marked as paid manually within WorkNinja or updated through a connected accounting integration.
Recurring Icon
The recurring icon indicates that the visit belongs to a recurring job.
Recurring jobs are managed through a parent job template, which controls the schedule and details of future repeat jobs.
For more information, see How to Create and Manage Recurring Jobs.
5. Understanding Unscheduled Visits
On the left-hand side of the scheduler, you'll find your Unscheduled Visits.
These are visits that have been created but haven't yet been assigned a scheduled time.
To schedule one:
Find the visit in the unscheduled list.
Drag the visit card onto the calendar.
Drop it at the appropriate time and against the relevant technician.
The visit will be removed from the unscheduled list and displayed on the calendar.
6. Move and Adjust Scheduled Visits
You can quickly make changes to your schedule without opening each individual job.
Move a visit: Drag and drop the visit card to another available time or team member.
Change its duration: Drag the right-hand edge of the visit card to extend or shorten the appointment.
Unschedule a visit: Drag the scheduled card back into the Unscheduled Visits area.
7. Understanding Scheduling Conflicts
WorkNinja prevents two visits from being scheduled at the same time for the same technician.
If you attempt to move a visit into an occupied time slot, the scheduler will identify the conflict.
Depending on the situation, you may be offered the option to split the existing visit so the new appointment can take place between two parts of the original visit.
Was this helpful?
Still need help? Ask the team